One of my favorite electives in college was about Biomechanical Engineering. The class basically broke down the entire human body into levers and other simple machines. So you can imagine how excited I was when one of my son’s Tinker Crates involved building a mechanical hand! My son already learned about the mechanics of our hands from the same Tinker Crate, and as he continued to read the Tinker Zine, he learned the history of prosthesis. He learned that the first designs provided little mobility, and were just used as a way to hold shields. But as technology advanced, the prosthetic hands began to look and act more and more like real hands. He learned how biomechanical engineering has developed hands that allow a person to grasp items, much like they could with a real hand. These new designs used a series of levers and linkages to make the prosthetic hands move!
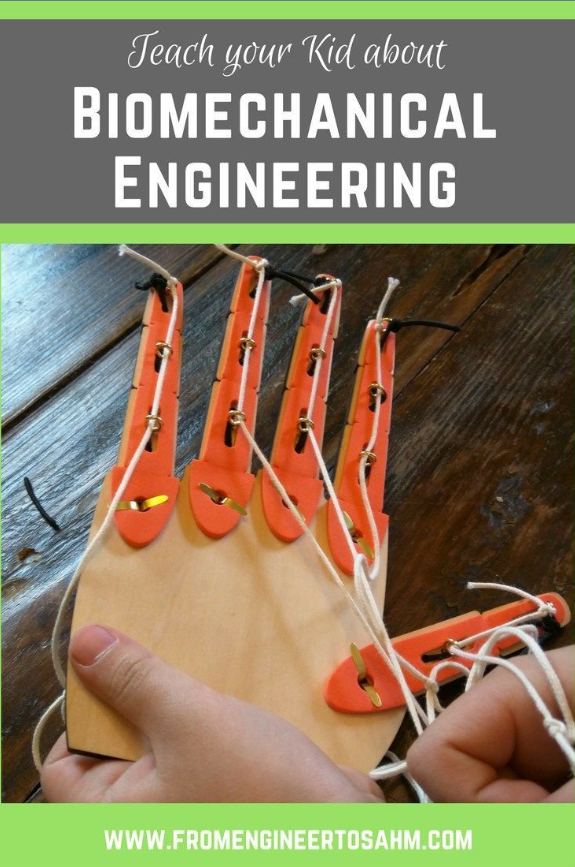
Teach Your Kid about Biomechanical Engineering
After experimenting with puppets, he further explored biomechanical engineering, and how our hands work by building his own mechanical hand.
He read the instructions, which showed him how to build the fingers. He started by sticking the bottom of an orange foam sticker to the “palm” wooden piece. The foam sticker created a linkage between the phalanges (represented by the small rectangular wooden pieces) of the finger. Next he stuck three phalanges to the orange foam sticker.
Next the instructions told him to screw an eyescrew into the middle of each one of the phalanges. My son didn’t know what an eye screw was, so he asked for my help. I pointed them out to him, and he was good on his own from there. Here he explains what he’s doing, and how he is able to identify an eyescrew:
Now that the finger had phalanges, we needed to build the tendons. Two different types of strings were used to build the tendons: elastic and regular string. First he tied a long piece of elastic string to the eyescrew at the tip of the finger, then he wove the elastic through the finger. All the blocks were now tied together, and the elastic allowed the fingers to bend at each joint.
Next he tied a piece of regular string to the same eyescrew as the elastic, and pulled the string through each of the remaining eyescrews on the finger. Now construction of the tendons was complete! He built the remaining four fingers, and before long, he had his own mechanical hand.
We had a lot of fun playing with all the different kinds of things we could make the hand do! Much like the puppets we had created in the first activity, pulling on the finger’s string curled the finger down, and left the remaining fingers up.
Looking to do a similar activity? I found a similar robotic hand that looks like a lot of fun!